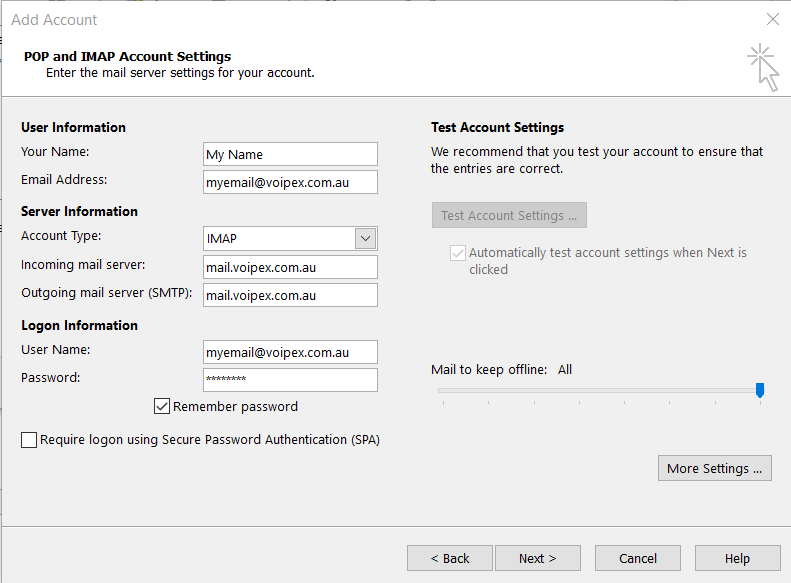
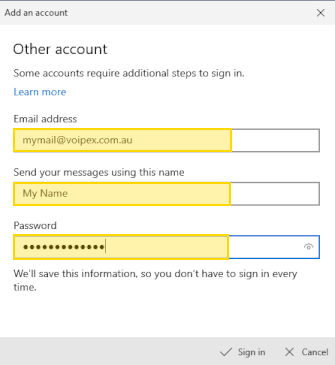
These settings are the generic settings used in all email programs for connecting to the VoIPex email server and downloading, or sending emails.
If you have your own domain replace mail.voipex.com.au in the steps below with mail.domain, where domain is your full domain name. If your domain was example.com, then replace mail.voipex.com.au with mail.example.com
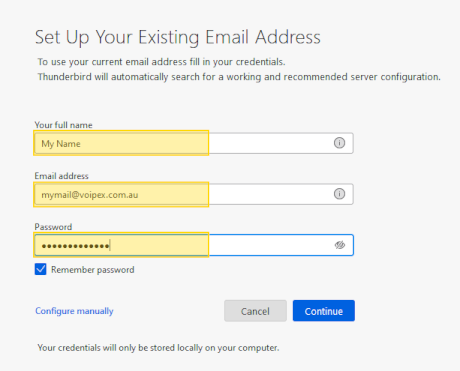
Email Username: full email address.
For example myemail@voipex.com.au
Incoming IMAP/POP3 server: mail.voipex.com.au
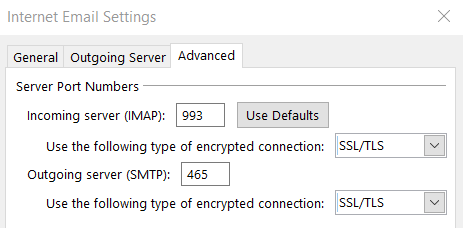
IMAP Port Number: 143 (for SSL use Port 993)
POP3 Port Number: 110 (for SSL use Port 995)
Outgoing SMTP server: mail.voipex.com.au
SMTP Port Number: 587 (for SSL use Port 465)
Your email username and password are required for both retrieving and sending emails.